DIY WATERCOLOUR
YOU ARE:
The DIY craftsy type with a coffee table in dire need of a cosmetic refresh.
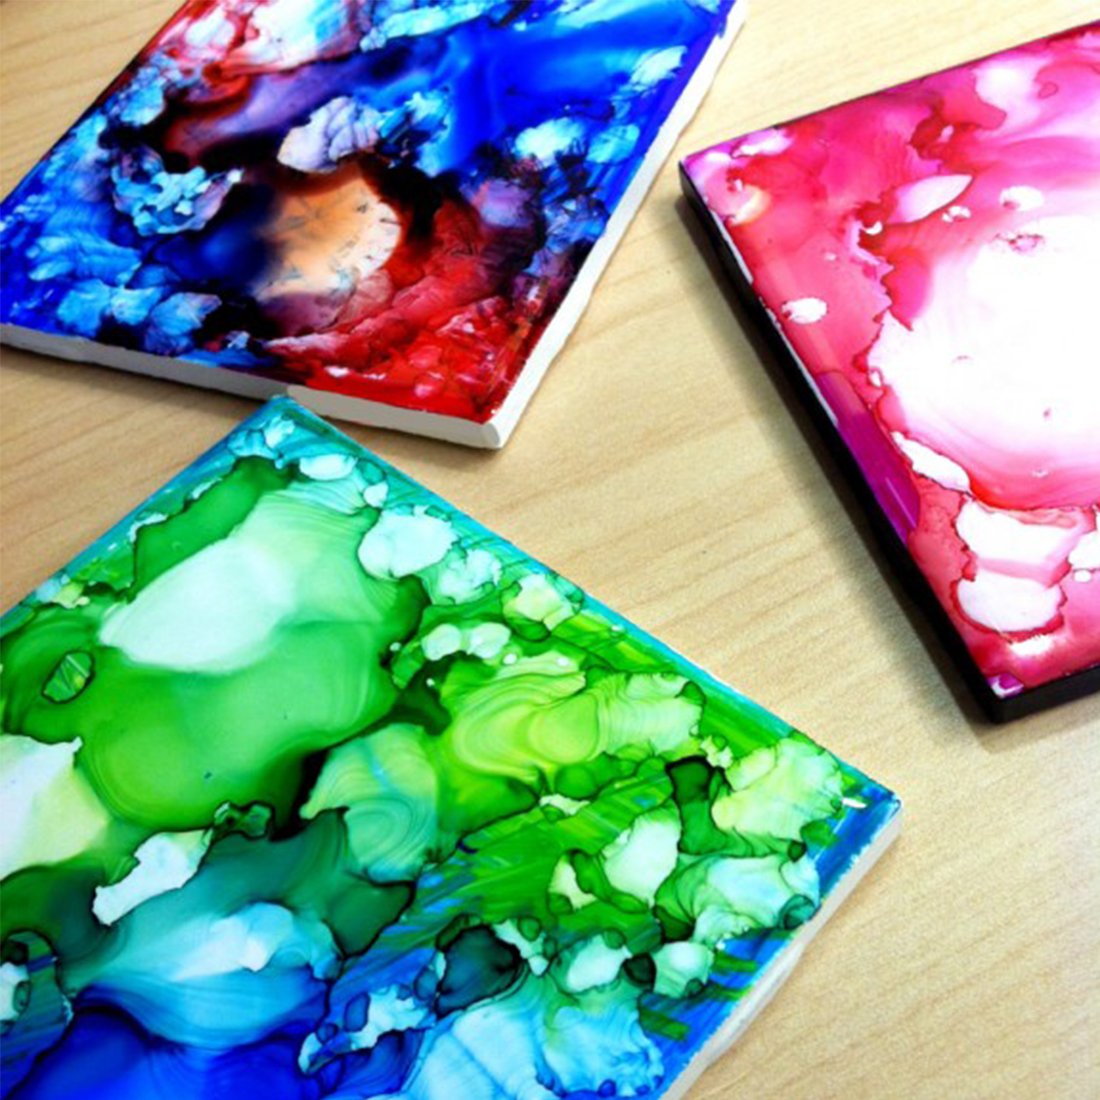
Before you kick your lackluster coffee table to the curb, try this crafty DIY trick to spruce it up with bold and brilliant Watercolour Coasters using Sharpie® markers.

TIP:
If you think you have added too much alcohol, double-down by adding even more drops to form a fresh pool on the tile top, making your design new again (see image).

YOU WILL NEED:
- White ceramic tiles found at any big box home improvement shop. Buy 4-6 tiles to create a coaster set.
- Sharpie Permanent Markers
- Rubbing alcohol
- Eyedropper or stirring spoon
- Spray fixative also available at the hardware shop
- Clear varnish or Polyurethane coating (optional)
- Adult supervision is required.

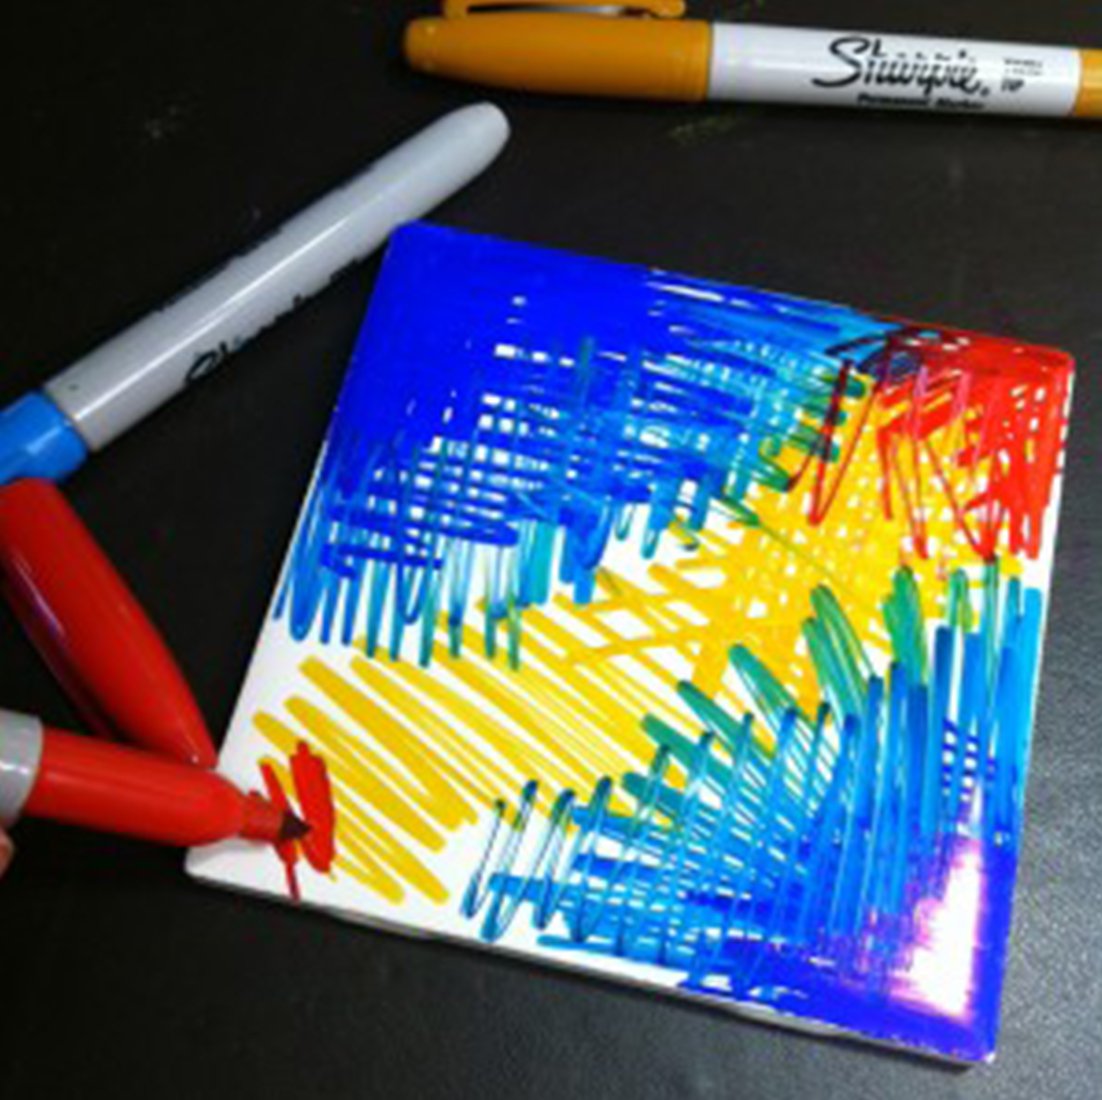
STEP 1 – COLOUR: Colour the first tile using your favourite bold, brilliant Sharpie colours. Cover the full face of the tile in different shapes and patterns. Repeat for the rest of the white tiles making each one a little different from the last.
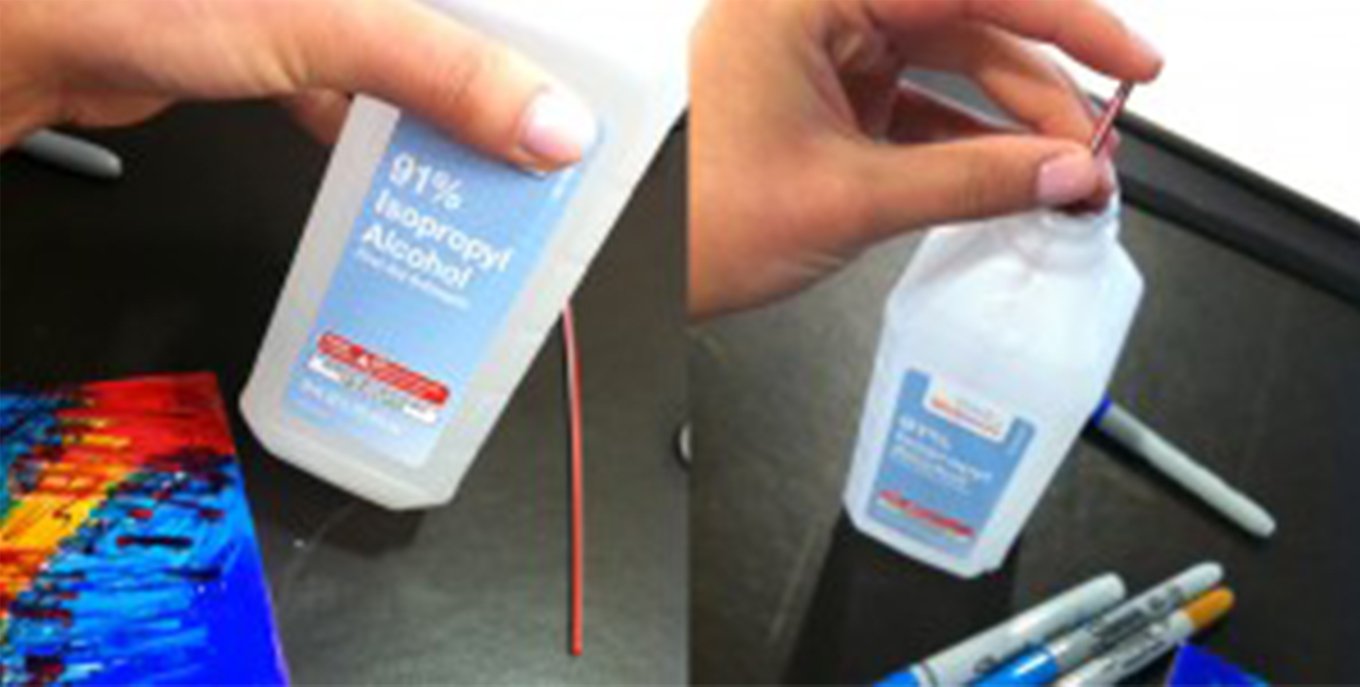
STEP 2 – DROPS: Use a stirring spoon or eyedropper to drop small pools of rubbing alcohol onto the tile to create swirling circle patterns. Careful not to add too many drops at a time much to keep colours from blurring together more than you would like.
STEP 3 – DRY: Let tiles dry for 30 minutes to 1 hour.
STEP 4 – SEAL: One at a time, hold dry tiles at least six inches away and lightly spray with a spray fixative. Spray in layers with a 1-2 minutes in between to set for best results.
STEP 5 – (OPTIONAL): If a high-gloss finish is desired, apply varnish or polyurethane to seal it with a shiny coat.

TIP:
Combine dark and light colours to add depth and dimension to your design.
Voilà, vibrant Watercolour Coasters that restore that drab coffee table to its rightful place as a conversation-sparking room centrepiece.
Try creating more unique coaster designs for other small tables throughout the home, and be sure to share your creations with the entire Sharpie community
Special Sharpie shout-out to 52 Weeks Blog for this inspired DIY home idea:
